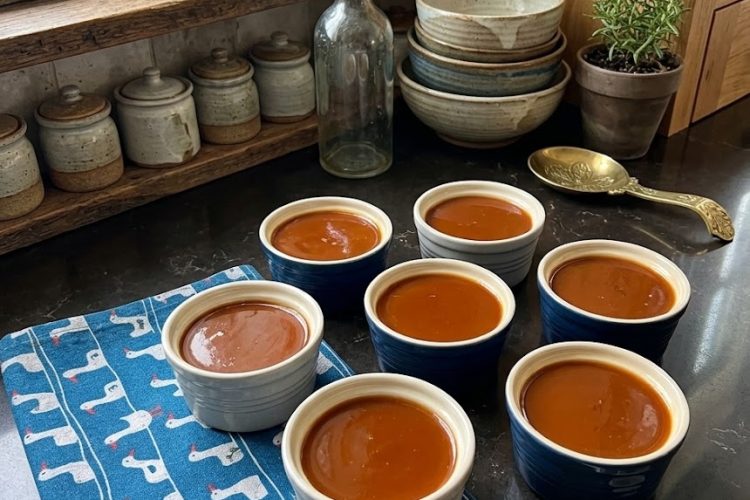
No-Bake Salted Caramel Cheesecake Cups are an easy individual dessert made with a buttery graham cracker crust, smooth cream cheese filling, and rich homemade salted caramel. This no-bake cheesecake recipe is especially useful when you want an impressive dessert without turning on the oven. Each serving combines creamy cheesecake with buttery caramel and a light touch of sea salt, creating a balanced dessert that feels special while remaining simple enough for beginners.
These Cheesecake Cups
A simple no-bake dessert
The biggest advantage of these salted caramel cheesecake cups is that there is no baking involved. Instead of preparing a traditional cheesecake in a springform pan and worrying about cracks, water baths, or oven temperatures, the mixture is assembled directly into individual glasses or jars. After several hours in the refrigerator, the filling becomes firm enough to serve while keeping its soft, creamy texture.
Perfect for individual servings
Individual cheesecake cups make dessert easy to portion and serve. Rather than cutting a whole cheesecake into slices, you can prepare six separate servings ahead of time. This makes the recipe convenient for dinner parties, holidays, Valentine’s Day, family gatherings, or any occasion when you want desserts that can be served straight from the refrigerator.
What Makes the Caramel Special
Homemade caramel sauce
The caramel sauce gives this dessert its main flavor. Granulated sugar and water are cooked until they develop a deep amber color, then warm heavy cream and softened butter are incorporated to create a rich, smooth sauce. The cream adds richness while the butter gives the caramel a silky finish. Allowing the sauce to cool completely before using it in the cheesecake filling is important for maintaining the proper consistency.
A balance of sweet and salty flavors
Salted caramel works particularly well with cheesecake because the tanginess of cream cheese helps balance the sweetness of caramel. A small amount of flaky sea salt or chopped toasted nuts can be added to the finished dessert if desired. The garnish is optional, but a little salt can make the caramel flavor stand out more clearly without changing the main recipe.
The Graham Cracker Crust
Building a firm cheesecake base
The graham cracker crust provides a crisp, buttery layer underneath the creamy filling. Graham cracker crumbs are mixed with melted unsalted butter until the mixture resembles wet sand. Pressing the mixture firmly into each serving glass helps create a compact base that stays together when eaten with a spoon.
Why chilling the crust helps
Once the crust mixture has been divided between the serving glasses, refrigerating it before adding the filling helps the butter firm up. This gives the crumbs a more stable texture and creates a distinct base beneath the cheesecake layer. It is a small step, but it makes the finished dessert easier to assemble and serve neatly.
Preparing the Caramel Sauce
Warm the heavy cream first
Before starting the caramel, warm the heavy cream until it is just warm to the touch, around 60°C/140°F. Keeping the cream warm helps it combine more smoothly with the very hot caramelized sugar. Cold cream can cause a more dramatic temperature change when added to caramel, so warming it beforehand is an important preparation step.
Cook the sugar and water carefully
Combine the granulated sugar and water in a heavy-bottomed saucepan and heat over medium heat. The mixture should be allowed to cook without stirring. As the sugar dissolves and the syrup boils, you can gently swirl the saucepan if needed to encourage even coloring. Avoid vigorous stirring because it can encourage unwanted sugar crystallization.
Watch the color closely
The sugar should continue cooking until it reaches a deep amber shade similar to honey. Color is a useful visual guide because caramel can move from perfectly cooked to burnt surprisingly quickly. Once the desired amber color is reached, remove the saucepan from the heat immediately so the sugar does not continue cooking excessively.
Add the cream with care
Warm heavy cream must be added slowly and carefully while whisking vigorously. The caramel will bubble and release steam as the cream enters the hot sugar, so this step requires caution. Pouring the cream in a steady stream rather than all at once gives you better control and makes it easier to create a smooth caramel sauce.
Finish with butter
After the cream has been incorporated, whisk in the softened unsalted butter until the caramel becomes smooth. If you notice remaining sugar crystals, the sauce can be returned to very low heat for 30 to 60 seconds while whisking constantly. Avoid prolonged cooking because overcooked caramel can develop a bitter taste.
Cooling and Storing the Caramel
Cool before using
The caramel sauce needs to cool completely before being incorporated into the cheesecake filling. Pouring hot caramel into softened cream cheese can affect the texture of the filling, so patience at this stage is worthwhile. Once cooled, cover the surface directly with plastic wrap and refrigerate until the sauce becomes thick and cold.
Make it ahead
The caramel sauce can be prepared several days before assembling the cheesecake cups. The original recipe allows it to be made 3 to 5 days ahead, which can make preparation easier when planning a special meal. Having the caramel ready means the cheesecake cups can be assembled quickly when needed.
Making the Creamy Cheesecake Filling
Start with softened cream cheese
For a smooth cheesecake filling, the full-fat cream cheese should be softened before mixing. Beat the cream cheese and granulated sugar together with an electric mixer until the mixture is completely smooth and creamy. Taking time to eliminate noticeable sugar granules helps create a more pleasant texture in the finished no-bake cheesecake.
Add cooled caramel
Once the cream cheese mixture is smooth, beat in the cooled caramel sauce. This creates the caramel flavor throughout the cheesecake rather than leaving all of the caramel only on top. The filling should look evenly combined before the whipped cream is added.
Whip the cream separately
Cold heavy cream is whipped in a separate clean bowl until soft peaks form. Soft peaks are important because the whipped cream contributes lightness and volume to the cheesecake filling. When the beaters are lifted, the peaks should curl over rather than stand completely upright.
Folding the Filling Correctly
Keep the whipped cream airy
The whipped cream should be folded gently into the cream cheese mixture in two additions. Use a flexible spatula and make sweeping motions through the center and underneath the mixture. The goal is to combine everything while preserving as much air as possible. Overmixing can deflate the whipped cream and result in a heavier filling.
Look for an even texture
Continue folding until the mixture is homogeneous and no visible white streaks remain. The finished cheesecake mixture should be creamy and thick enough to pipe or spoon into the serving glasses. Avoid continuing to mix after the ingredients are fully combined because unnecessary mixing can reduce the light texture created by the whipped cream.
Assembling the Cheesecake Cups
Layer the crust and filling
The chilled graham cracker bases are ready for the cheesecake filling once they have firmed slightly. Transfer the filling to a piping bag for a cleaner presentation, or simply spoon it into the glasses. Fill each serving glass to around 80% full, leaving room for the caramel topping.
Smooth the tops
After filling the glasses, smooth the cheesecake surface with the back of a spoon or a small offset spatula. A smooth top makes the final caramel drizzle look more polished. However, the dessert does not need to be perfectly shaped because the caramel topping will cover part of the surface.
Chilling the Cheesecake
Give the filling enough time to set
Refrigerate the assembled cheesecake cups for at least four hours. For the best texture, allowing them to chill overnight for approximately six to eight hours gives the filling more time to firm. This is one reason individual no-bake cheesecake cups are convenient for entertaining: most of the preparation can be completed well before serving.
Why overnight chilling can help
A longer refrigeration period allows the ingredients to settle and the filling to become more stable. The cheesecake should remain creamy rather than becoming hard or dry. Keeping the cups covered while they chill can also help protect them from absorbing other refrigerator odors.
Adding the Caramel Topping
Make the caramel drizzle pourable
Refrigerated caramel becomes thicker as it cools. If the remaining caramel sauce is too firm to drizzle, warm it gently in a heatproof bowl over simmering water or use short five-second microwave intervals, stirring between each one. The objective is simply to loosen the sauce enough to pour without overheating it.
Finish each serving
Drizzle the softened caramel over each chilled cheesecake cup shortly before serving. You can use a spoon for a casual finish or pipe the caramel for more control. A small amount of flaky sea salt or chopped toasted nuts can be added on top if desired, giving the dessert additional texture and contrast.
Serving Suggestions
Serve chilled
These cheesecake cups are best served cold after they have fully set. The contrast between the creamy cheesecake, buttery graham cracker base, and caramel topping is most enjoyable when the dessert is properly chilled. Since each portion is already assembled, you can take individual cups from the refrigerator as needed and serve them immediately.
Make them for special occasions
The individual format makes these no-bake caramel cheesecake cups suitable for many occasions. They can be prepared for Valentine’s Day, dinner parties, birthdays, holiday meals, or weekend desserts. Their small serving size also makes them convenient when guests prefer a dessert that does not require cutting and plating.
Ingredient Notes
Full-fat cream cheese
Full-fat cream cheese provides the rich texture expected from a cheesecake filling. It also helps create a creamy consistency when combined with sugar, caramel, and whipped heavy cream. Make sure it is softened before mixing so the filling does not contain small lumps.
Heavy cream
Heavy cream is used in both the homemade caramel sauce and the cheesecake filling. The cream used for whipping should be cold, while the cream used for caramel should be warmed first. Keeping these two uses separate during preparation helps each component achieve the texture required for the recipe.
Unsalted butter
Unsalted butter appears in both the caramel sauce and graham cracker crust. Using unsalted butter allows the salt level to remain controlled, especially because flaky sea salt may be added as an optional garnish. Softened butter is used for the caramel, while melted butter is combined with the graham cracker crumbs.
Notes for Consistent Results
Take care with hot caramel
Caramelized sugar reaches a very high temperature, and adding cream causes vigorous bubbling and steam. Use caution and avoid placing your face or hands directly over the saucepan. A heavy-bottomed saucepan also helps distribute heat more evenly while the sugar changes color.
Do not rush the chilling stage
The refrigerator time is part of the recipe, not just an optional resting period. The cheesecake filling needs several hours to become properly set. Serving it too early may produce a softer texture that does not hold its shape as well in the glass.
Keep the topping balanced
Because caramel is naturally sweet and rich, the optional flaky sea salt can provide useful contrast. Add only a small amount rather than heavily salting the dessert. Chopped toasted nuts can also provide crunch and give the soft cheesecake cups a different texture.
Frequently Asked Questions
Can I make these cheesecake cups ahead of time?
Yes. The caramel sauce can be prepared 3 to 5 days ahead and refrigerated. The assembled cheesecake cups can also be chilled in advance, making this dessert practical for entertaining. Keep the cups refrigerated until serving and add the final caramel topping shortly before they are served.
How long should no-bake cheesecake cups chill?
The cheesecake cups should be refrigerated for at least four hours. For a firmer, more settled texture, chilling them for six to eight hours or overnight is preferable. The exact setting time can vary depending on refrigerator temperature and the size of the serving glasses.
Can I use a spoon instead of a piping bag?
Yes. A piping bag creates a cleaner and more even appearance, but it is not necessary. You can spoon the cheesecake filling into each glass and gently smooth the surface. The caramel topping will help give the finished dessert an attractive appearance.
What should I do if the caramel becomes too thick?
Gently warm the caramel until it becomes pourable. You can place it in a heatproof bowl over simmering water or microwave it in five-second bursts, stirring after each interval. Avoid overheating because the goal is only to loosen the chilled caramel enough to drizzle.
Why This Recipe Works
No-Bake Salted Caramel Cheesecake Cups combine several textures in one easy dessert: a buttery crumb base, smooth cream cheese filling, whipped heavy cream, and rich caramel sauce. The preparation does not depend on baking, so there is no oven temperature to manage or cheesecake surface to protect from cracking. Once assembled and chilled, the individual cups are ready for a simple caramel finish.
The recipe is also flexible in terms of presentation. Clear glasses or small dessert jars allow the layers to remain visible, making the contrast between the graham cracker crust and pale cheesecake filling part of the presentation. The final caramel drizzle adds a glossy finish, while optional flaky sea salt or toasted nuts can provide a little extra texture.
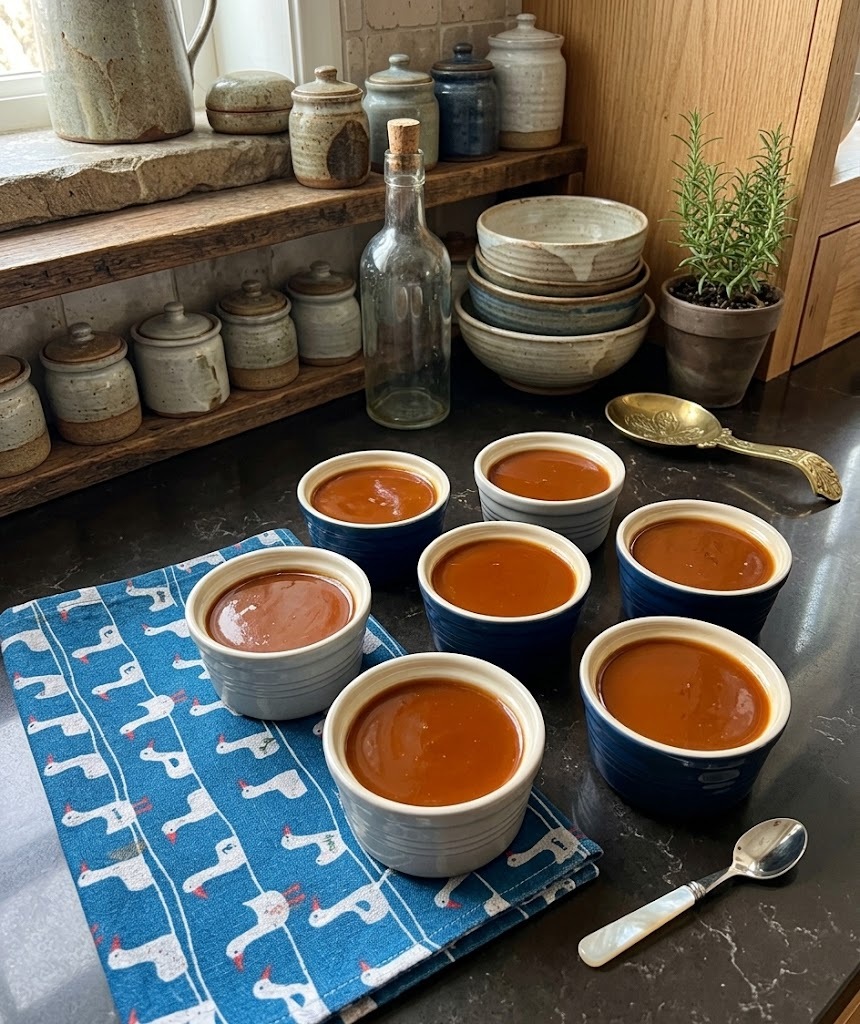
No Bake Salted Caramel Cheesecake Cups
 Recipe by admin
Creamy individual no-bake cheesecake cups layered with a buttery graham cracker crust, homemade caramel sauce, and a smooth caramel cheesecake filling.
6
servings30
minutes550
kcal30
minutesIngredients
- Caramel Sauce
200 g granulated sugar (1 cup)
50 g water (3 tbsp + 1 tsp)
200 g heavy cream, at room temperature (¾ cup + 1 tbsp)
40 g unsalted butter, softened (3 tbsp)
- Graham Cracker Crust
90 g graham cracker crumbs (a scant 1 cup, lightly packed)
35 g unsalted butter, melted (2½ tbsp)
- Cheesecake Filling
250 g full-fat cream cheese, softened (8 oz)
65 g granulated sugar (⅓ cup)
120 g heavy cream, cold (½ cup)
30 g cooled caramel sauce (from above) (2 tbsp)
- Assembly & Topping
Remaining caramel sauce (200g)
Flaky sea salt or chopped toasted nuts (optional, for garnish)
Directions
- Make the Caramel Sauce
- Warm the 200 g heavy cream until just warm to the touch, approximately 60°C/140°F. Set aside.
- Put the sugar and water into a heavy-bottomed saucepan. Heat over medium heat without stirring until the sugar dissolves and the mixture boils.
- Lower the heat to medium-low and continue cooking without stirring. Gently swirl the pan when needed until the syrup becomes deep amber in color.
- Remove from the heat and slowly add the warm heavy cream while whisking vigorously. Take care because the caramel will bubble and steam.
- Whisk in the softened butter until smooth.
- If sugar crystals remain, return the sauce to very low heat for 30–60 seconds while whisking constantly. Do not overcook.
- Transfer the caramel to a clean bowl, cover the surface directly with plastic wrap, cool completely, and refrigerate until cold and thick.
- Assemble the Cheesecakes
- Mix the graham cracker crumbs with melted butter until the texture resembles wet sand.
- Divide the crumb mixture between six individual glasses or jars and press firmly to create the crust. Refrigerate.
- Beat the softened cream cheese and granulated sugar with an electric mixer for 2–3 minutes until smooth and creamy.
- Beat in 30 g of cooled caramel sauce until fully incorporated.
- In a separate cold bowl, whip the cold heavy cream until soft peaks form.
- Gently fold the whipped cream into the cream cheese mixture in two additions, taking care not to deflate it.
- Pipe or spoon the cheesecake filling into the chilled glasses, filling each approximately 80% full.
- Smooth the tops and refrigerate for at least 4 hours, preferably 6–8 hours or overnight.
- Finish & Serve
- If the refrigerated caramel is too thick, warm it gently over simmering water or in five-second microwave bursts, stirring between each interval.
- Drizzle the caramel over the chilled cheesecake cups.
- Add a small amount of flaky sea salt or chopped toasted nuts if desired.
- Serve immediately while chilled.
Nutrition Facts
- Calories: 550kcal
- Fat: 38g
- Carbohydrates: 50g
- Sugar: 45g
- Protein: 6g