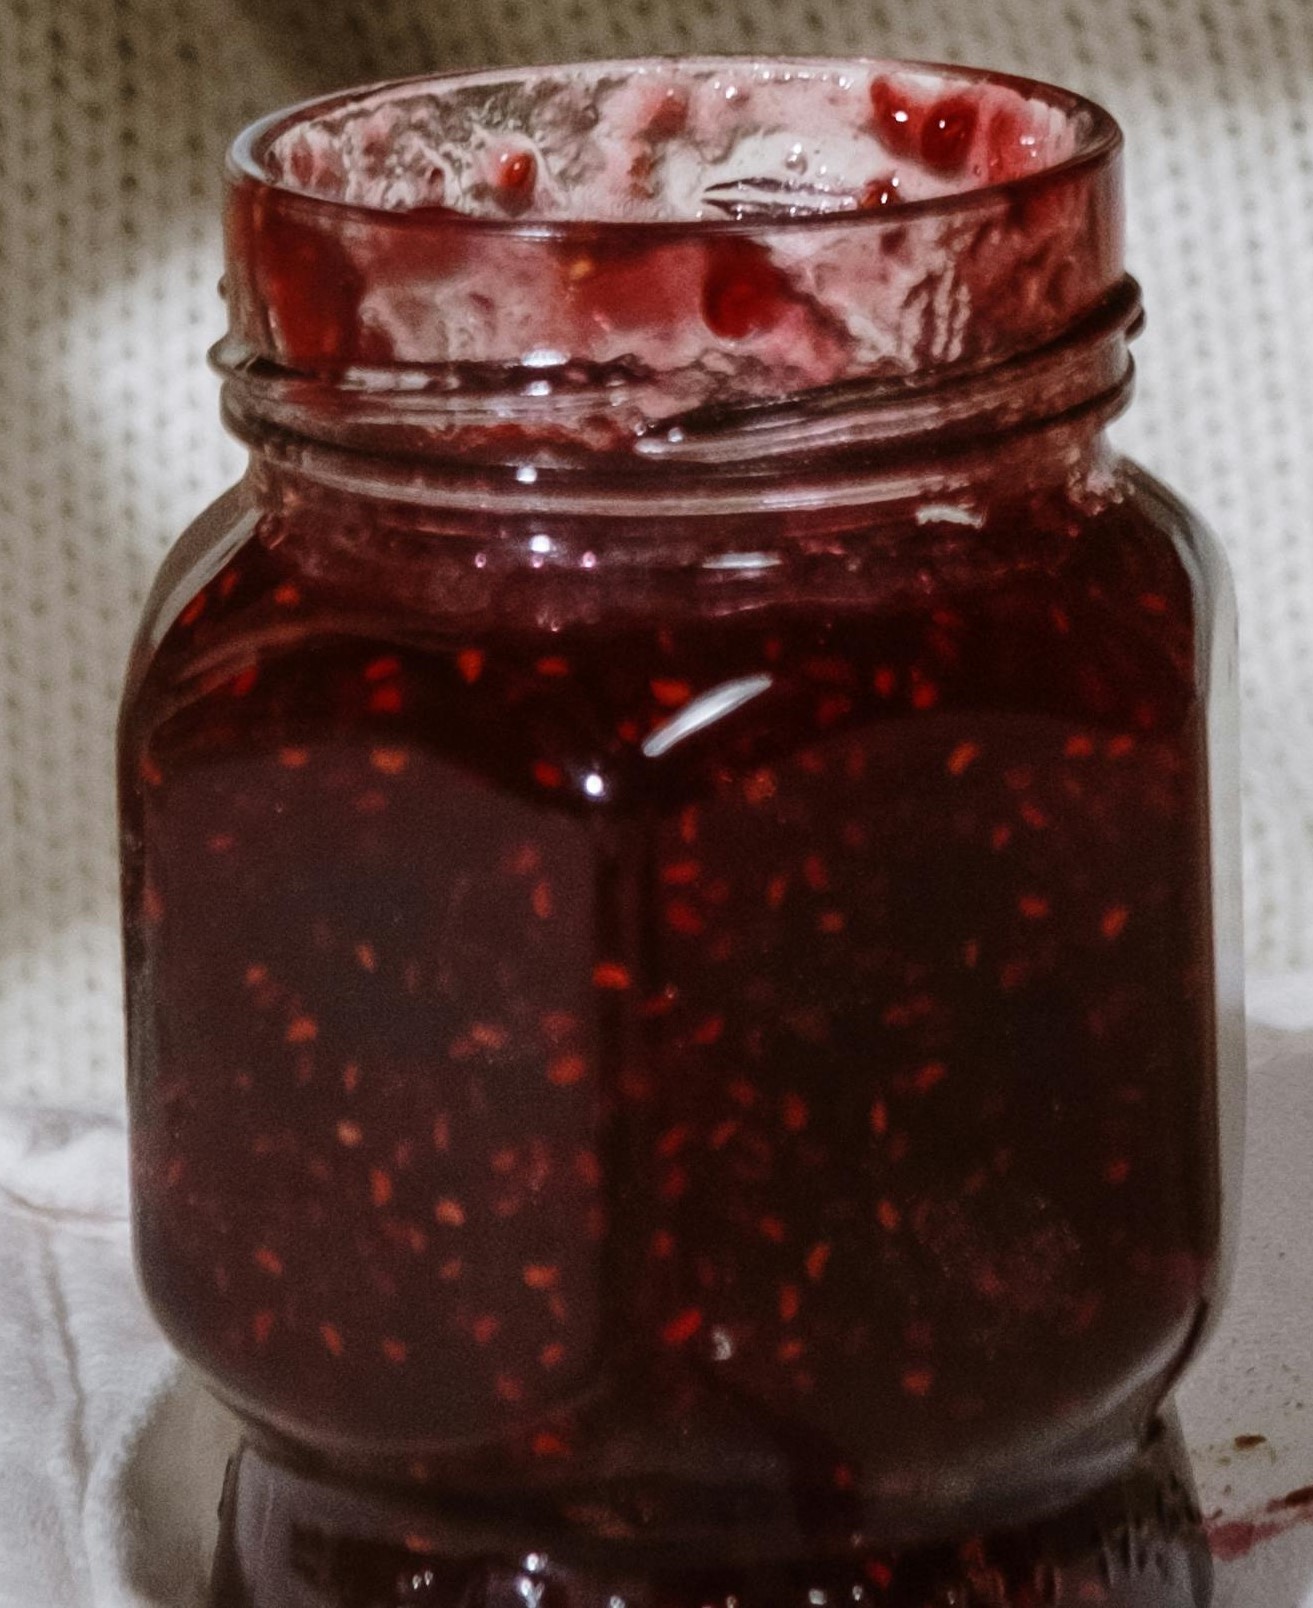
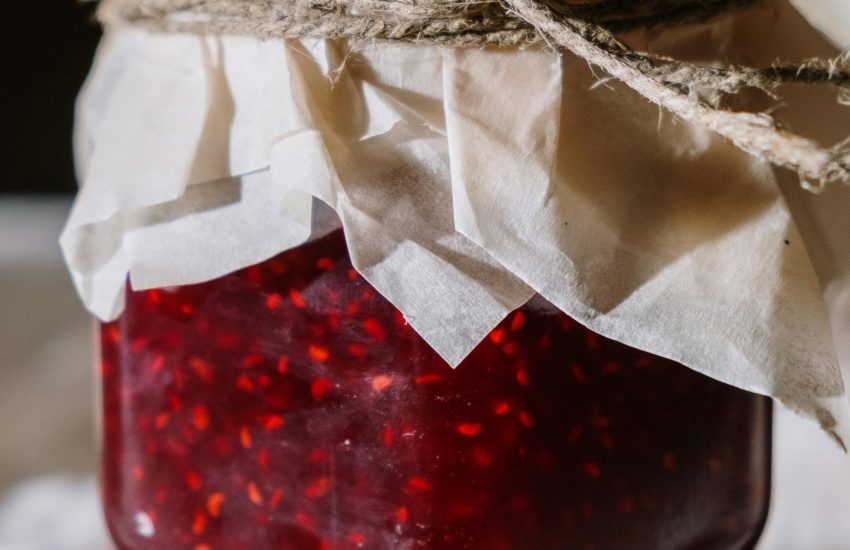
If you’re looking for a delightful homemade preserve, nectarine jam is a simple yet delicious recipe to try. Unlike peach jam, there’s no peeling involved and no need for added pectin. This nectarine jam recipe brings out the fresh flavors of summer, and with just a few key ingredients, you can have your very own jar of nectar-y goodness.
Key Ingredients for Nectarine Jam
The charm of this nectarine jam lies in its simplicity. Here are the main ingredients:
- Fresh, ripe nectarines: The star of the show, fresh nectarines provide natural sweetness and flavor.
- Sugar: Necessary for sweetening and activating natural pectin to help the jam set.
- Lemon juice: Balances the sweetness and adds a bit of tang, while also lowering the pH to help with preservation. It also adds some natural pectin, further aiding the setting process.
Why Use Nectarines? Nectarines, unlike peaches, do not need peeling. Their smooth skin softens while cooking, adding texture and flavor to the jam. Plus, nectarines naturally contain pectin, helping the jam firm up without any additional ingredients.
Why Use Sugar and Lemon Juice?
- Sugar: It not only sweetens but also activates the fruit’s natural pectin. As the nectarines release their juices, sugar firms up the fruit, ensuring a chunky texture in your jam.
- Lemon Juice: A must-have ingredient, lemon juice provides acidity, helping balance the sweetness and aiding in preservation. It also contains pectin, helping the jam set properly, making it safe for canning if you wish to store it long-term.

Detailed Instructions on How to Make Nectarine Jam
Step 1: Prepare the Nectarines
Start by washing and chopping the nectarines. No need to peel them—the skin breaks down as it cooks, adding a subtle texture to the jam. Cut the nectarines into bite-sized pieces, about 1-inch chunks, but no larger. The smaller the chunks, the quicker they’ll break down during cooking.
Step 2: Macerate the Fruit
Macerating the fruit is a crucial step that helps draw out the natural juices and improves the jam’s texture. Combine the nectarine chunks with sugar and toss them with freshly squeezed lemon juice. The sugar will begin to pull out the juices from the fruit, softening it up and helping it hold its shape while cooking. Let the mixture sit in the fridge for at least 4 hours or preferably overnight. The longer the fruit macerates, the better the jam’s texture will be.
Why Maceration? Macerating the nectarines before cooking ensures that the fruit maintains its structure, resulting in a chunky jam. Without this step, the jam might turn into more of a fruit butter consistency, which is less desirable for a classic jam.
Step 3: Prepare for Cooking
After the nectarines have had a good soak in sugar, it’s time to cook them down. Transfer the fruit mixture into a deep, heavy-bottomed pot or a Dutch oven. The pot should be large enough that the fruit fills no more than a third of its capacity. This prevents the mixture from bubbling over as it foams up during cooking.
Turn the heat up to high and bring the mixture to a vigorous boil. Stir constantly to prevent burning and to control the foaming. The foam will initially rise as the jam boils, but it will reduce as the jam continues to cook.
Step 4: Boil and Monitor the Jam’s Set Point
Once the mixture reaches a hard boil, continue to stir frequently to prevent scorching. The jam will foam up a lot, so make sure you have a deep enough pot and monitor it closely.
Tip: Watch the bubbles! As the jam cooks, the bubbles will start small and foamy but will become larger and more glossy as the jam thickens. This is a good visual cue that the jam is nearing its set point.
Set Test with a Freezer Plate: While the jam cooks, place a small plate in the freezer. After about 8-10 minutes of boiling, remove a spoonful of jam and drop it onto the chilled plate. Let it sit for a minute, then run your finger through the jam. If it wrinkles and holds its shape, it’s ready. If not, continue cooking and testing every few minutes.
Alternatively, you can use an instant-read thermometer. Jam sets at 220°F at sea level. For every 500 feet above sea level, reduce the temperature by 1 degree. For example, if you’re 1,000 feet above sea level, your jam will set at 218°F.
Step 5: Ladle Into Jars
Once the jam has reached its set point, remove it from the heat and carefully ladle it into sterilized jars. If you plan on canning the jam, be sure to leave about 1/4-inch headspace in each jar. Wipe the rims clean and apply the lids.
Step 6: Water Bath Canning (Optional)
If you want to preserve your nectarine jam for longer storage, water bath canning is the way to go. Place the filled jars into a boiling water bath canner for 10 minutes (15 minutes if you’re above 6,000 feet in elevation). After processing, remove the jars and let them cool on a towel. After 24 hours, check the seals by pressing down on the lids—if they don’t pop back, they’re sealed. Any unsealed jars should be stored in the fridge and used within a few weeks.
Common Jam-Making Tips:
- Foam Skimming: During cooking, jam may produce foam. You can skim this off with a spoon or stir in a little butter to reduce foaming.
- Chunky or Smooth: If you prefer a smoother jam, you can use a potato masher to break down the fruit while it cooks. This is particularly useful if you prefer a more spreadable texture.
Storage and Shelf Life
Once sealed, canned nectarine jam can last for up to 18 months when stored in a cool, dark place. Once opened, store in the refrigerator and use within 2-3 weeks.
Nectarine Jam Recipe
Preparation Time: 4 hours (includes maceration time)
Cook Time: 10 minutes
Total Time: 4 hours 20 minutes
Ingredients:
- 8 cups chopped nectarines (from about 8-9 fresh fruits, around 3.5 pounds)
- 2 1/2 cups sugar
- 4 tablespoons fresh lemon juice
Instructions:
- Chop Nectarines: Wash and chop the nectarines (no need to peel).
- Macerate the Fruit: Toss the nectarine chunks with lemon juice and sugar. Cover and refrigerate for at least 4 hours, or overnight.
- Cook the Jam: Transfer the macerated fruit to a deep pot. Bring to a boil over high heat, stirring frequently. Cook for about 10 minutes until the jam thickens.
- Test for Set: Use a freezer plate or instant-read thermometer (220°F at sea level) to check if the jam is ready.
- Store: Ladle the jam into sterilized jars and seal. If canning, process in a water bath for 10 minutes. Cool and store.
